Creating events
To create an event: go to Events → + New event, enter a name, a client, start/end dates, and pick a venue. The agenda, registrations, and budget are ready to populate immediately.
What you need before you start
- A Client in your Clients list (or create one inline from the event form).
- A Venue in your Venues list, or external venue details (name + address) if it’s a one-off.
- The dates — start and end. Same-day is fine.
- The event type — Conference, Exhibition, Wedding, Corporate, Government, Other. This drives a few downstream defaults like agenda template suggestions.
Step by step
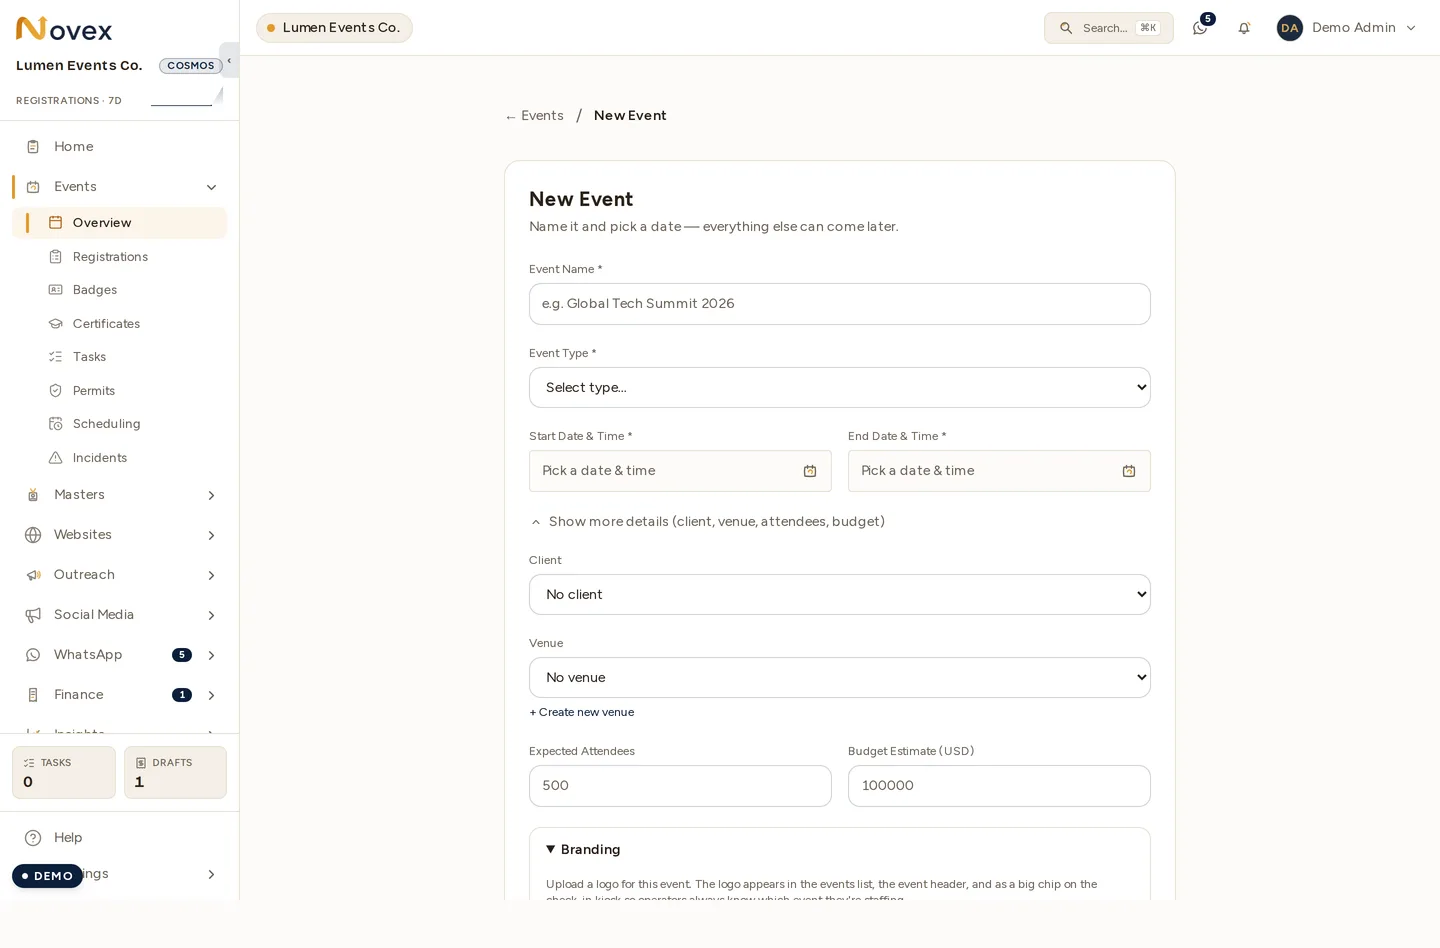
Only the first four fields are required — everything under Show more details (client, venue, attendees, budget) can be filled in later.
- From the left nav, click Events → + New event.
- Fill in the Basics: name, client, type, dates.
- Pick a Venue from the dropdown or enter one inline.
- Set the expected attendance — used by the Command Center to compute ”% of capacity” tiles.
- Click Create event. You land on the event’s detail page.
What gets auto-created
When you create an event, Novex sets up:
- An empty Agenda structure with one day per calendar date between start and end.
- A Cost Plan scaffold (you’ll add line items per category — Venue, AV, Catering, etc.).
- An empty Registration form keyed to this event (only published when you switch the event to a registration-enabled stage).
- A Command Center route at
/t/<slug>/events/<id>/command-center— read-only until the event reachesIN_EXECUTIONstatus.
Event status flow
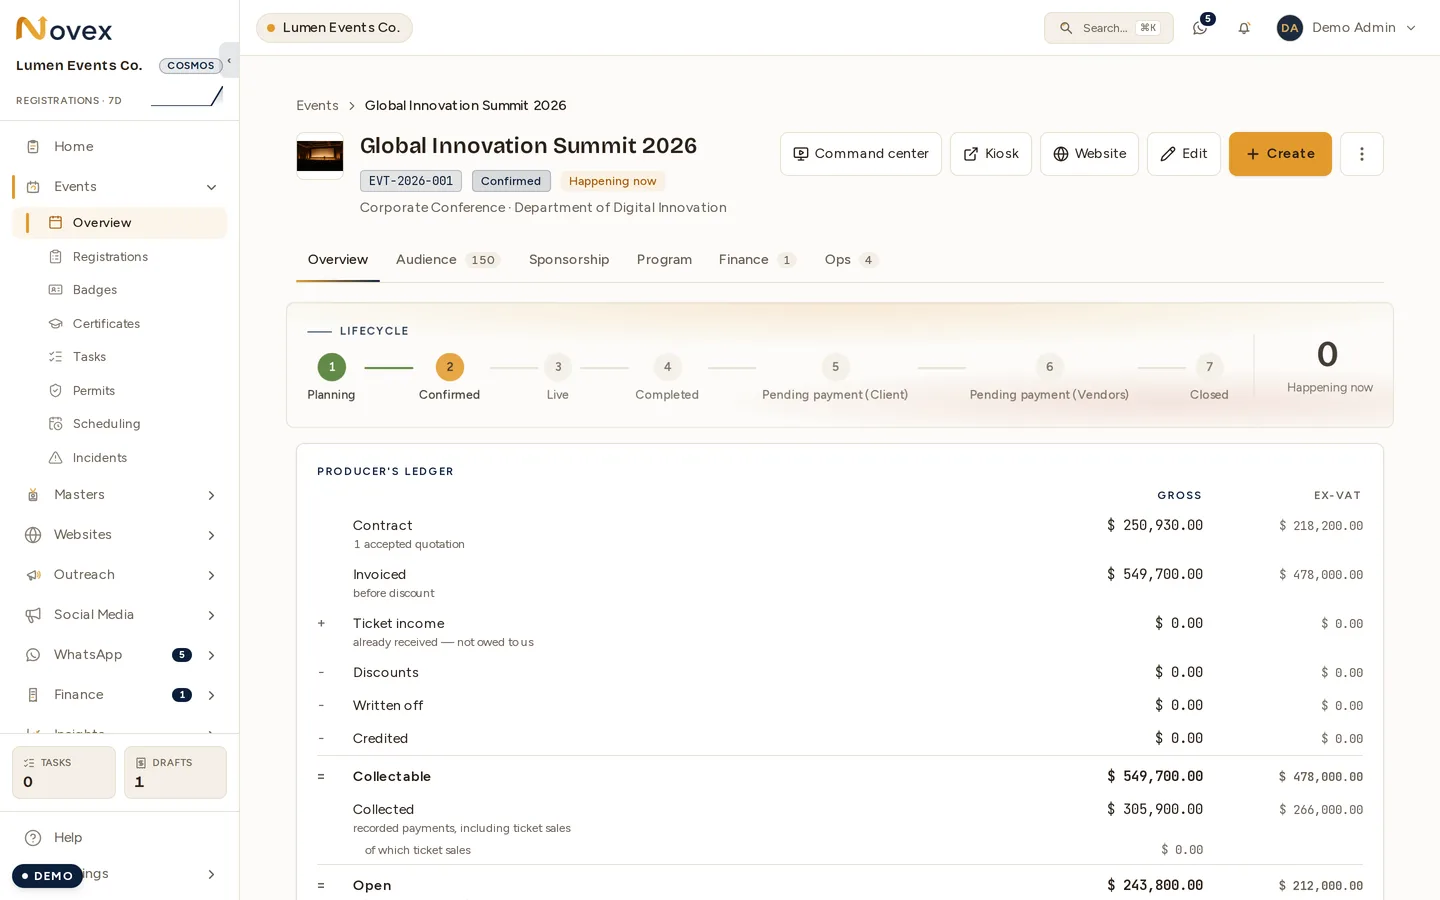
The lifecycle stepper in the event header shows where an event has got to. Seven states sit on the main track, in this order:
| Status | Shown as | Meaning |
|---|---|---|
PLANNING | Planning | Operations active. Quotes / contracts circulating. |
CONFIRMED | Confirmed | Client signed. Registration may open. |
IN_EXECUTION | Live | Day-of. Command Center is live; on-site check-in works. |
COMPLETED | Completed | The event has happened. The money is not settled yet. |
PENDING_PAYMENT | Pending payment (Client) | The client still owes you. |
PENDING_PAYMENT_VENDORS | Pending payment (Vendors) | You still owe vendors — open vendor-invoice balances. |
CLOSED | Closed | Both sides settled. The event is finished. |
Two more states sit off that track and the automation never moves an event into or out of them:
| Status | Meaning |
|---|---|
CANCELED | Cancelled at any stage. |
POSTPONED | Paused, with no new date committed yet. |
Why there are two pending-payment states
An event can be over and still have money moving in both directions, and those are different facts. A single “pending payment” could name neither, so an event would rest in a state that told nobody which side was unfinished — and only one side was ever measured, which let events close with real vendor balances still open.
So CLOSED requires both gates clear, and the event rests in whichever
pending state still has money in it. The status itself answers “what is this
waiting on?”.
Who can move it
The flow is automated — COMPLETED drains into whichever settlement state
still has money in it, and then into CLOSED — rather than something you step
through by hand. Where a person does act, it is governed by permissions rather
than by a job title: Publish / confirm events (events.publish) to advance
an event, and Close completed events (events.close) to finish it. Which of
your roles hold those is up to your workspace; see
Team & roles.
The automation only ever moves an event forward — with one exception. A closed event reopens into the matching pending state if new collectible money lands on it: a new invoice, a restored archived invoice, or a reversed write-off. It is the one backward move Novex makes, and it exists so an event can never sit closed over a live balance.