Quickstart: your first event
This is the fastest path from a fresh workspace to taking registrations. It ties together the building blocks documented in detail elsewhere; follow the links when you want the full reference.
Prerequisites
- A verified workspace (see Signup & trial).
- Optionally a Client and a Venue — you can also create these inline.
The five-minute path
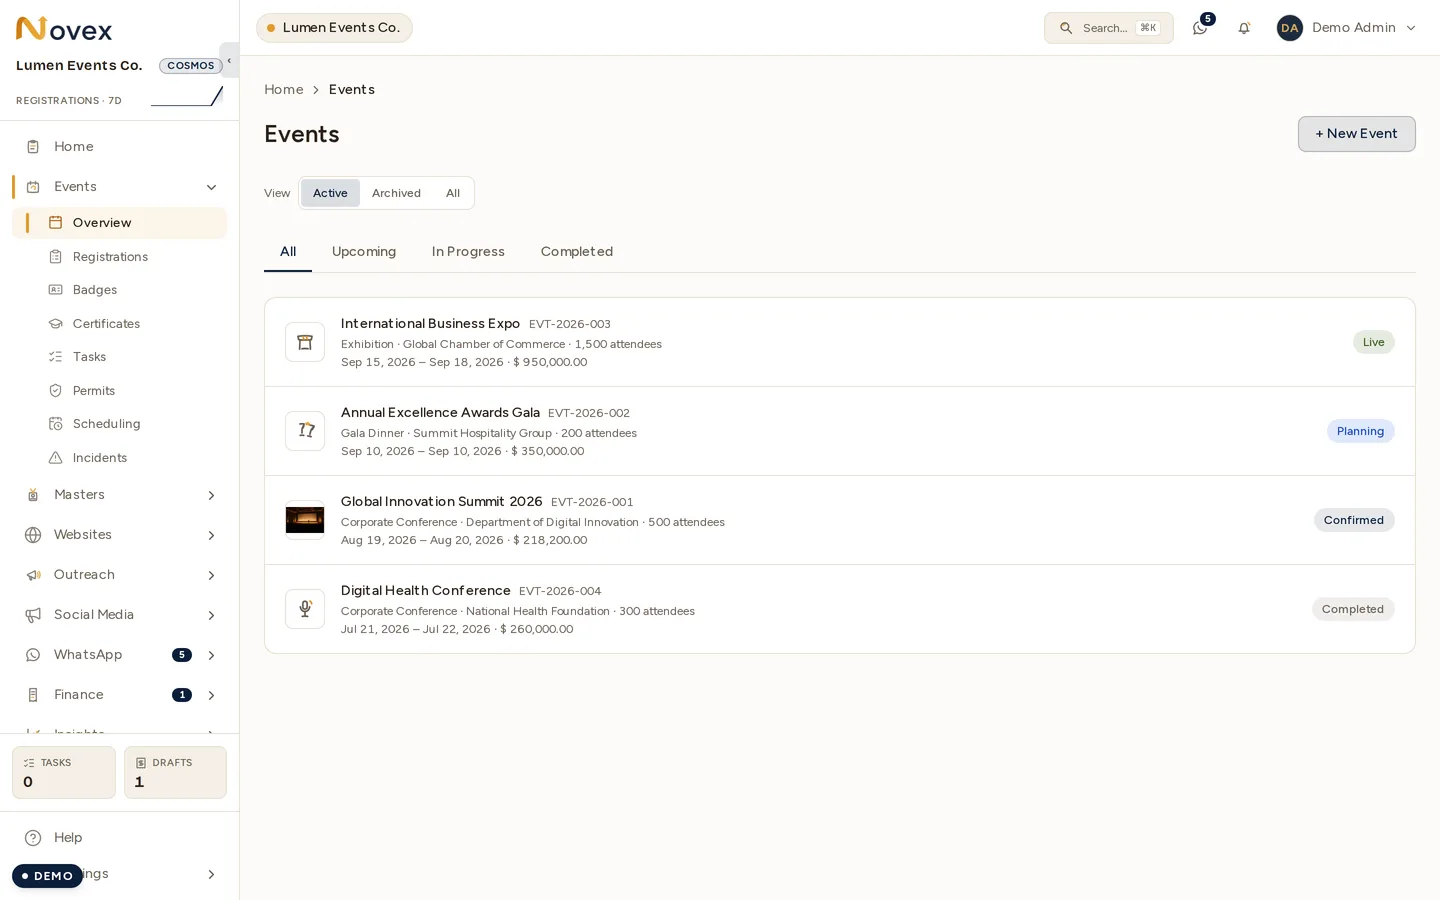
- Create the event. Go to Events → + New event, enter a name, a client, start/end dates, and a venue. → Creating events
- Build a quick agenda. Open the event’s Agenda tab and add a couple of sessions so attendees see a program. → Agenda builder
- Set up the registration form. Each event has a registration form; add the fields you want to collect. → Public registration
- Advance the event status to
CONFIRMEDso registration can open. The status badge is in the event header. - Publish & share the link. Share your public event link
(
/r/<tenant-slug>/<event-code>) — or embed the form on your own website. - On the day, check people in with the QR scanner or kiosk. → QR check-in
What you’ll have at the end
- A live event with an agenda and a public registration page.
- A shareable link (and optional embeddable form) collecting attendees.
- A Command Center route that goes live when the event
reaches
IN_EXECUTION.
Next
Last updated on