Custom domains
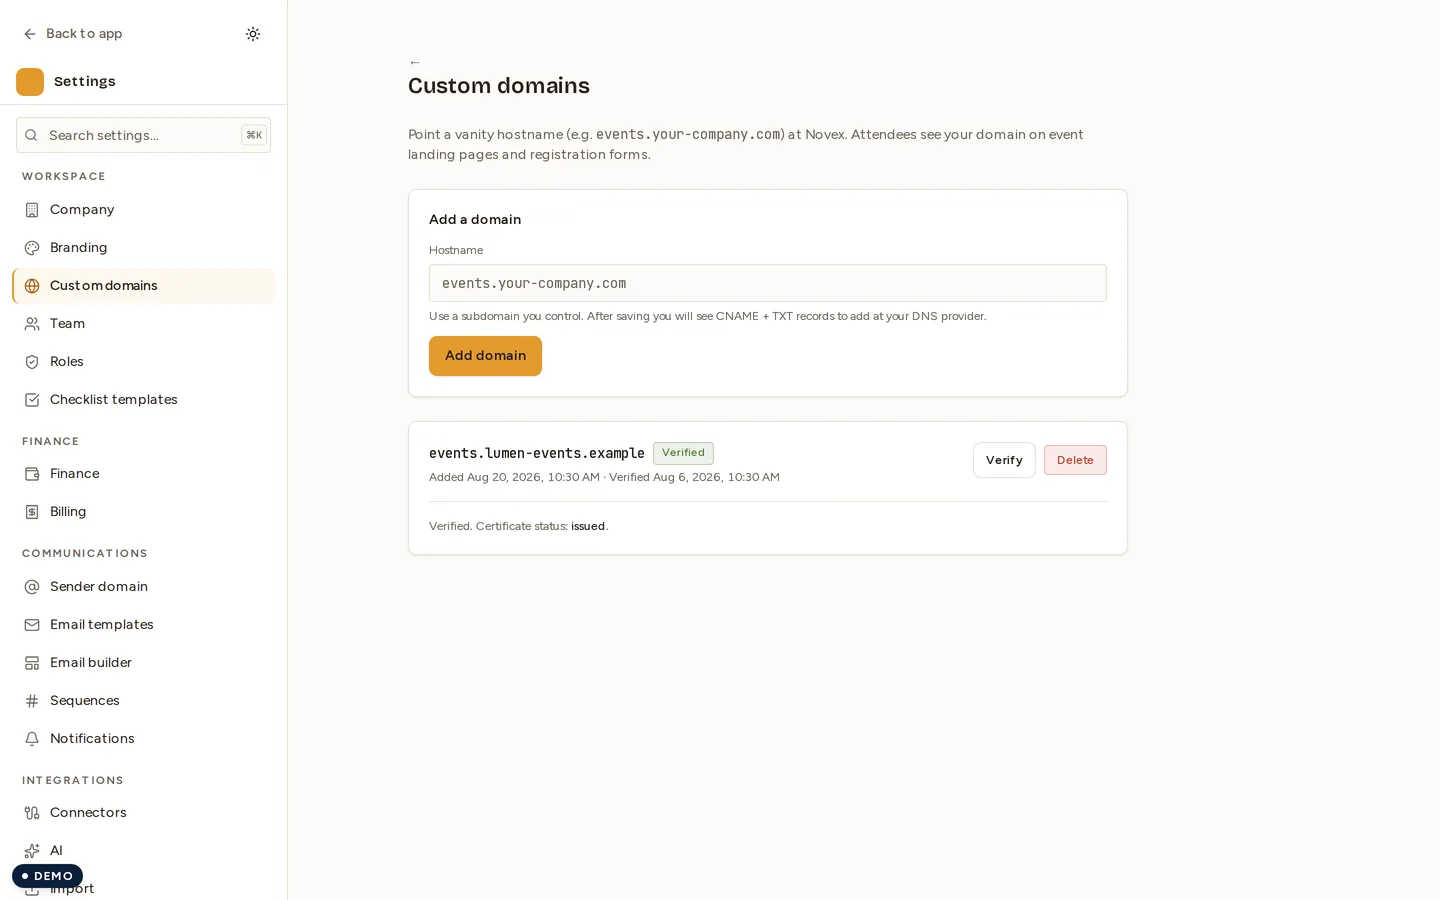
Custom domains let you serve Novex on your own domain — for example events.acme.com — instead of the default Novex host.
Plan gate
Custom domains are an Aurora and above feature. Lower tiers see an upsell card.
The same entitlement governs the per-event website domain panel, which binds one of these domains to a single event’s public site.
Where to find it
Go to Settings → Custom Domains.
Connect a domain
- Add a domain — enter the hostname and submit. Invalid formats, Novex-owned hostnames, and domains already claimed by another workspace are rejected.
- The domain appears with a status badge: Pending DNS, Verified, or Failed.
- Add two DNS records at your provider (the exact values are shown on screen):
- A CNAME — host is your domain, pointing to
custom.nov3x.com. - A TXT — host is
_novex-verification.<your-domain>, value is the generated verification token.
- A CNAME — host is your domain, pointing to
- Click Verify — Novex runs a live DNS TXT lookup and compares the token.
- A match marks the domain Verified (with a timestamp).
- A mismatch or DNS error marks it Failed with a reason: domain not found, token mismatch, or DNS error.
- Once verified, a certificate status line appears.
- Delete removes the domain, behind a confirmation prompt.
Status flow
| Status | Meaning |
|---|---|
| Pending DNS | Domain added; DNS records not yet verified |
| Verified | Token matched on a live lookup; serving is enabled |
| Failed | Domain not found, token mismatch, or DNS error |
One workspace per domain
Each domain is globally unique — it can be connected to only one workspace.
Permissions
| Action | Permission |
|---|---|
| View custom domains | settings.read |
| Add / verify / delete domains | settings.write plus Aurora or above |
Next
Last updated on