eBadge PDF & QR
Every confirmed registration gets a personal eBadge: a branded, printable PDF and a QR code. Attendees can print at home or just show the QR on their phone; your team scans it to check them in. The badge is laid out from the template you built in the badge designer.
What the attendee gets
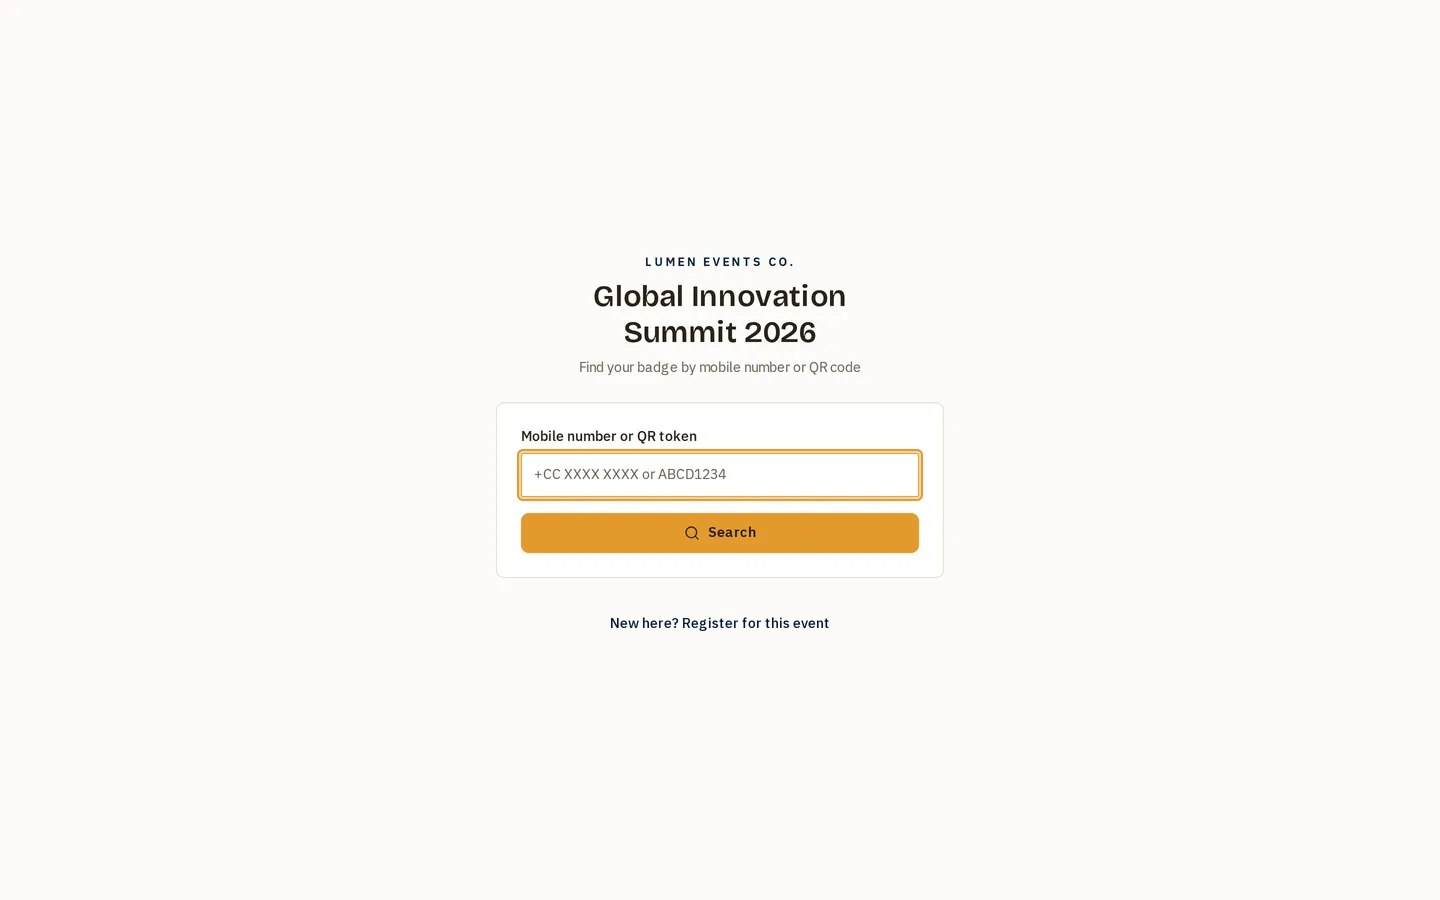
An attendee who has lost the email can find their badge again from the event’s public door:
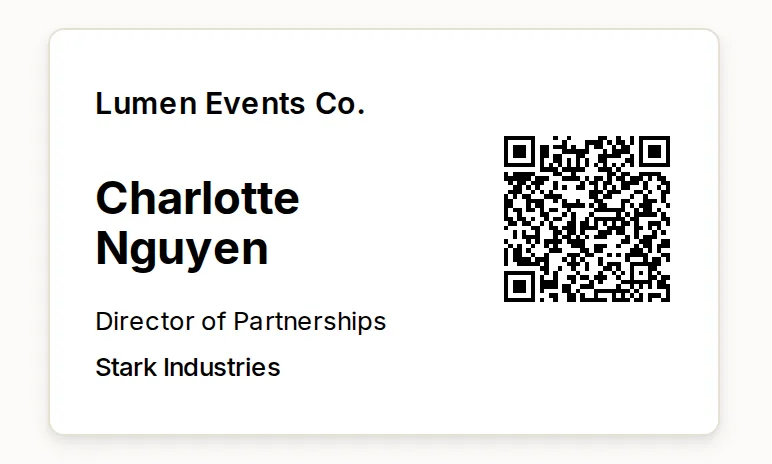
- A QR code embedded in the confirmation email. Scanning it (at the kiosk or with a staff scanner) identifies the registration instantly.
- A link to download their badge PDF — the full branded badge at the template’s size, ready to print on a home printer or at the venue.
The QR encodes a per-registration token, so each attendee’s code is unique and tied to one person and one event.
Add to calendar
The badge page gives the attendee a two-option Add to calendar chooser so it works no matter where they opened the link:
- Apple / Device (.ics) — adds the event to Apple Calendar and other device calendars. On iOS Safari the file is handed straight to the Calendar app.
- Google Calendar — opens a pre-filled Google Calendar event in the browser.
Both cover the same event (title, dates, and venue). The Google Calendar option
exists because some in-app browsers — notably WhatsApp on iOS — show the
.ics file as raw text instead of adding it to the calendar; the Google
Calendar link is a plain web page, so it works inside any app. When in doubt,
tell attendees to use Google Calendar if the .ics option just shows text.
Privacy & security
eBadge links don’t require a login — the QR token is the credential — but they are not guessable:
- The badge PDF and QR image only resolve when the request also carries the correct event code and tenant. A token alone, or a token with the wrong event, returns not found. This prevents anyone from enumerating other attendees’ badges.
- Public badge endpoints are rate-limited per IP.
- Downloading a badge does not mark the attendee as checked in — check-in is a separate, deliberate action.
Bulk pre-print for the whole event
For a staffed registration desk you often want every badge printed in advance.
- Open the event.
- Use Print all badges to generate a single multi-page PDF — one page per confirmed registration.
- Send it to your badge printer.
The bundle is built for large events (hundreds of badges in one file) and loads the background artwork once for the whole run, so it stays fast.
Transparent vs. full badges
- The emailed / pre-printed PDF is the full badge: background artwork, logo, event name and all fields.
- The kiosk prints a transparent badge — only name, job title, company and QR — so it overlays a pre-printed blank or lanyard insert. See Kiosk check-in.
You design both from the same template; the kiosk simply masks the background, logo and event name at print time.
Tips
- Re-issue after edits: if you change the badge template or an attendee’s details after badges were sent, re-send the confirmation or re-run the bulk pre-print so the new layout/details take effect.
- Test one badge first — download a single attendee’s PDF and print it to confirm the size and margins match your stock before running hundreds.
Next
- Staff QR check-in — scan the QR at the door.
- Kiosk check-in — self-service walk-in + print.