Team & roles (RBAC)
A role is a named bundle of permissions, and every teammate in your workspace is assigned one. Roles decide what each person can see and do — from viewing events to issuing invoices to managing other users — so getting them right is the core of keeping your workspace secure and tidy.
Invite a teammate
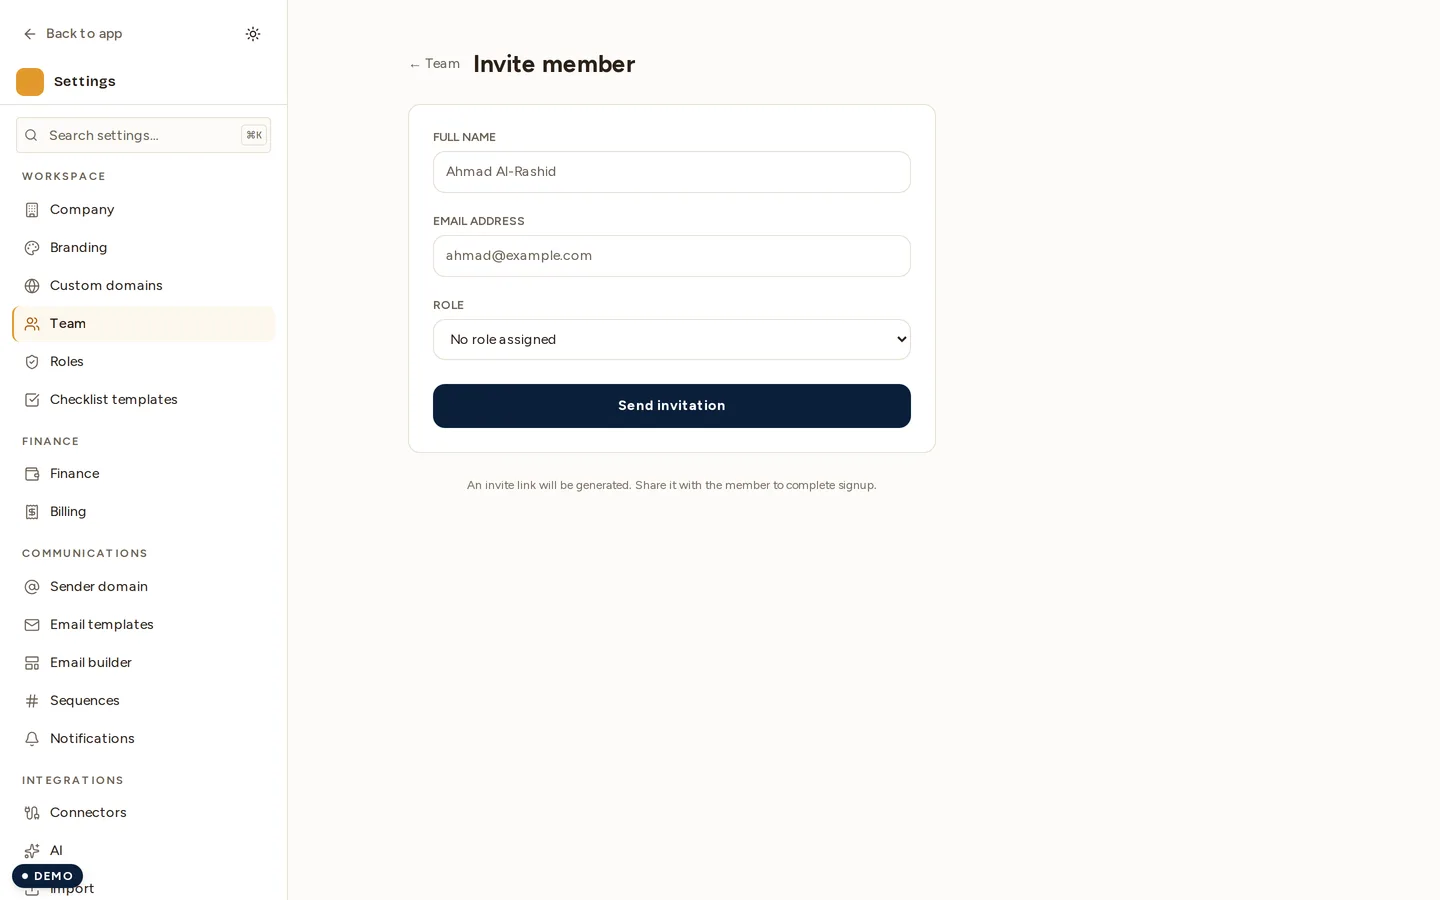
Teammates have full Novex accounts and sign in with their own credentials.
- Go to Settings → Team.
- Click Invite member.
- Enter the person’s email address.
- Choose the role they should start with.
- Send the invite. They receive an email with a link to set up their account and join your workspace.
Pending invites appear in the team list until accepted. You can resend or revoke an invite that has not yet been used.
Manage members
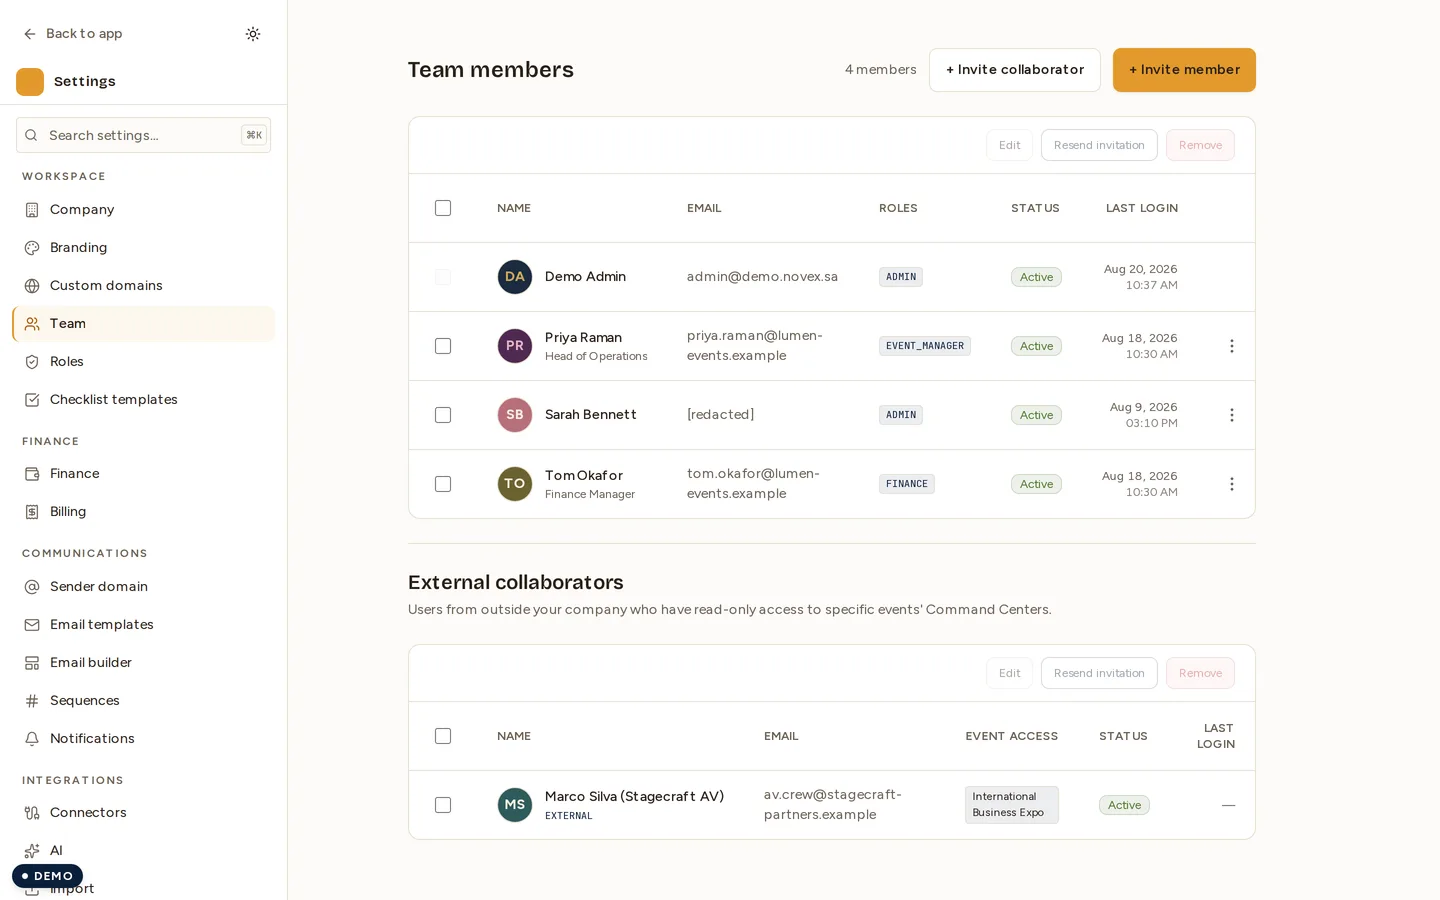
From Settings → Team you can:
- Change a member’s role — pick a different role from the member’s row.
- Remove a member — revoke their access entirely. Their account is removed from your workspace; data they created stays in the workspace.
- See status — distinguish active members from those with a pending invite.
Removing a member takes effect immediately and ends their access on the next request.
The permission model
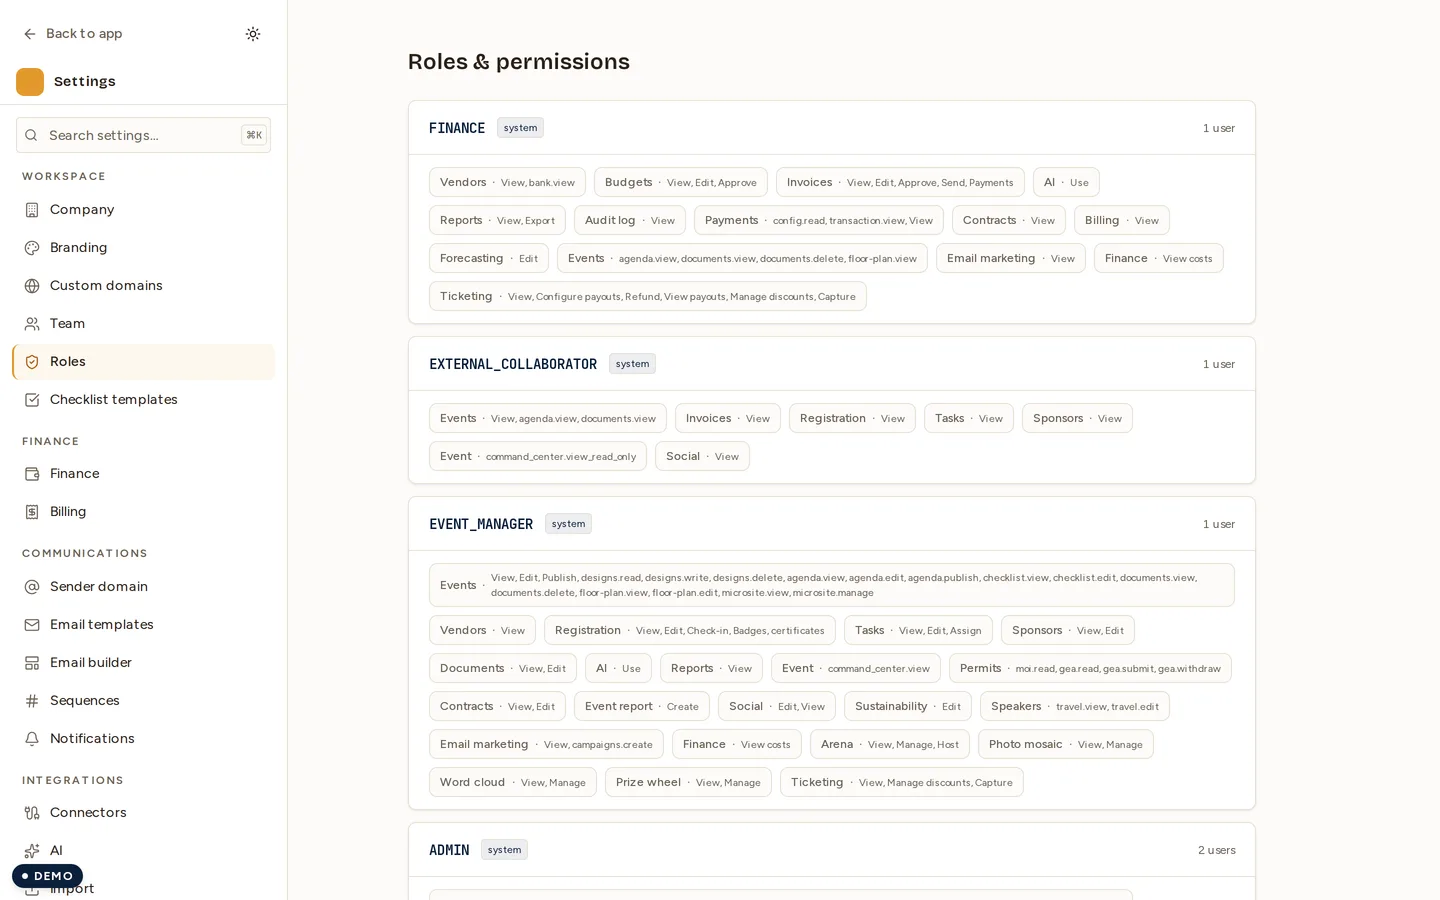
Novex enforces role-based access control (RBAC): every protected action maps to a permission, and a role is simply a set of those permissions. When a teammate tries an action, Novex checks whether their role grants the matching permission. This is enforced on the server for every request, not just hidden in the UI — so access cannot be bypassed by manipulating the page.
Twelve roles are seeded into every new workspace:
| Role | Typical scope |
|---|---|
| Admin | Full control, including team, roles, billing, and settings |
| Account manager | Client relationships and the commercial pipeline |
| Event manager | Running events end to end |
| Procurement officer | Raises purchase orders |
| Procurement approver | Approves them — deliberately a different role |
| Finance | Raises invoices and budgets |
| Finance approver | Approves them — again, deliberately separate |
| Sponsor coordinator | Sponsors and exhibitors |
| Registration staff | Registrations and the check-in desk |
| Viewer | Read-only access to event delivery — not company finance |
| External collaborator | A scoped outside contributor |
| Kiosk operator | The on-site kiosk only |
Approval is split from creation on purpose. The roles that raise a financial document — Finance for invoices and budgets, Procurement officer for purchase orders — do not carry the matching approval grant. Approval lives on the separate Finance approver / Procurement approver roles, so create-and- self-approve is not something a workspace gets by default.
Roles are copied into your workspace when it is created, so an established workspace keeps the set it was given even if the defaults later change.
Change to the Viewer role (August 2026)
Viewer no longer includes company finance by default. It previously granted read access to the finance overview (profit and loss, invoiced totals), budgets, invoices and quotations. Those are no longer part of the role.
Viewer still covers the read-only delivery work the role exists for: events and their designs, documents, agenda, delivery checklist and floor plan, the vendor directory, and the messaging and email-marketing views.
This applies to every workspace, including existing ones. If someone on your team needs finance visibility, grant it explicitly: open Settings → Roles, edit Viewer (or create a custom role) and add the permissions they need — View reports and dashboards, View budgets, View invoices, View quotations. Editing a role updates every member who holds it.
Assign a role
- Open Settings → Roles to review the available roles and what each one grants.
- To assign, go to Settings → Team, find the member, and select the role.
- The change applies on the member’s next action.
Assign the least-privileged role that still lets someone do their job. It is easier to grant more later than to recover from over-permissioned accounts.
Custom roles
If the built-in roles do not fit, create a custom role under Settings → Roles:
- Click New role.
- Give it a clear name (e.g. Sponsorship coordinator).
- Select the individual permissions it should include.
- Save, then assign it to teammates from Settings → Team.
Custom roles are scoped to your workspace and can be edited or deleted later. Editing a role updates every member who holds it.
Tips & limits
- Keep at least one Owner/Admin at all times so you never lock yourself out.
- Review roles periodically — role drift is the most common access-control gap.
- Role and team changes are recorded in your audit log.